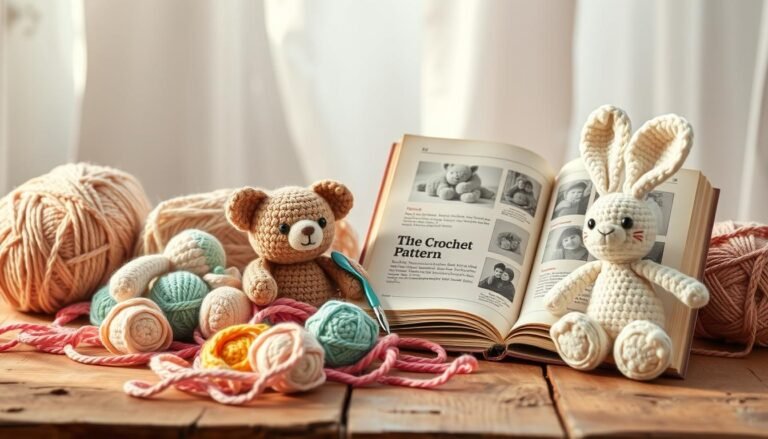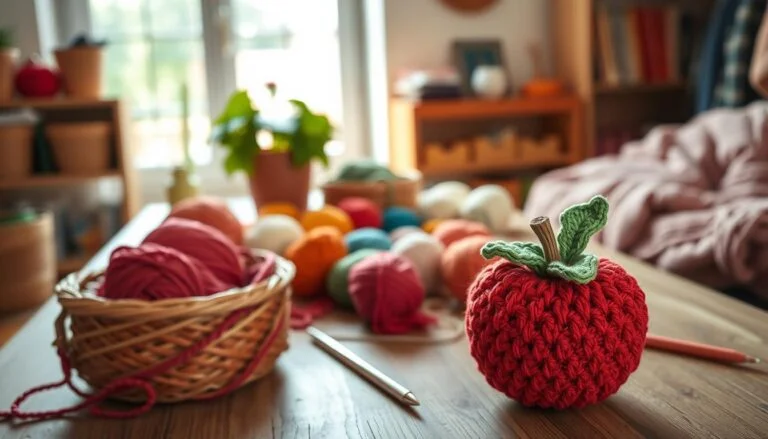
Ready to start your crochet journey? This beginner project is just what you need! Our easy crochet pouch pattern helps you make a stylish and useful accessory quickly. It’s 7 inches long and 4.5 inches wide, great for small items or gifts.
Use worsted weight yarn and a 5.50 mm crochet hook to make it. The pattern is simple, with clear instructions. You can finish this charming pouch in just a couple of hours, with a scalloped edge and button closure.
Whether you’re 10 or 110, this pattern is perfect for learning and making something useful. So grab your yarn and hook, and let’s start your new favorite project!
Getting Started: Essential Materials and Tools
Are you ready to begin your crochet pouch project? First, let’s collect the necessary crochet supplies. Crocheting is a budget-friendly hobby, with key tools under $15. You might already have some of these items at home!
Recommended Yarn Types and Weights
Worsted weight yarn is best for beginners. It’s simple to work with and highlights stitches well. Look for brands like Red Heart and Vanna’s Choice at Michaels, JoAnn’s, or Walmart. For those who care about the environment, there are now more eco-friendly yarn options.
Required Crochet Hook Sizes
A 5.5 mm (I-9) crochet hook is ideal for beginners. It works well with worsted weight yarn, making stitches easy to manage. Single crochet hooks usually cost between $3 and $4.
Additional Supplies Needed
Here’s a list of other essential crochet supplies:
- Tape measure for checking gauge
- Small scissors for color changes and finishing
- Stitch markers (Clover Split Ring Markers are popular)
- Yarn needle for weaving in ends (Susan Bates Steel Yarn Knitting Needle is recommended)
- Small pouch to store your tools
| Item | Purpose | Recommended Brand/Type |
|---|---|---|
| Yarn | Main material | Worsted weight (Red Heart, Vanna’s Choice) |
| Crochet Hook | Creating stitches | 5.5 mm (I-9) |
| Stitch Markers | Tracking rounds | Clover Split Ring Markers |
| Yarn Needle | Weaving ends | Susan Bates Steel Yarn Knitting Needle |
| Storage Pouch | Organizing supplies | Small zip pouch (e.g., Orla Kiely from Target) |
Basic Crochet Stitches Used in This Pattern

Learning to crochet pouches is easy with this pattern. You only need to know three basic stitches. These stitches are the building blocks of many crochet projects, perfect for beginners.
The pattern uses these key stitches:
- Chain stitch (ch): This starts your pouch
- Single crochet (sc): The main stitch used throughout
- Slip stitch (ss): For joining rounds and finishing edges
You start with a chain of 20 stitches, setting the pouch’s width. The pouch’s body has 37 rows. Rows 2 to 36 repeat single crochet across 20 stitches. This helps you get better at single crochet.
To add texture, work single crochet in the back loop only. This beginner technique gives your pouch a nice ribbed look. It might take some practice, but you’ll get the hang of it.
Remember, crochet is all about repetition and consistency. As you follow the pattern, your stitches will even out and your tension will improve. Soon, you’ll have a beautiful, handmade pouch to show off!
Understanding the Crochet Pouch Pattern
Learning to read crochet patterns is essential for making beautiful projects. This easy pouch pattern is great for beginners. It’s a fun and useful project to practice your skills.
Pattern Difficulty Level
This pattern is for beginners. It uses simple stitches and techniques. You won’t need to join rounds with slip stitches.
Size and Dimensions
The pouch is about 4.5 inches wide and 7 inches tall. It’s perfect for small items or as a gift bag. You can change the size by adjusting the starting chain.

Gauge Information
Gauge is not critical for this project. But knowing it helps for consistent results. The gauge is 10 single crochet (sc) back loop only (BLO) stitches by 9 rows in 2 inches.
This pattern needs about 70 yards of 4 weight (aran) yarn. Cotton or cotton blend yarn is best for durability. Use a 5mm crochet hook for the right gauge. With these materials and practice, you’ll make pouches quickly!
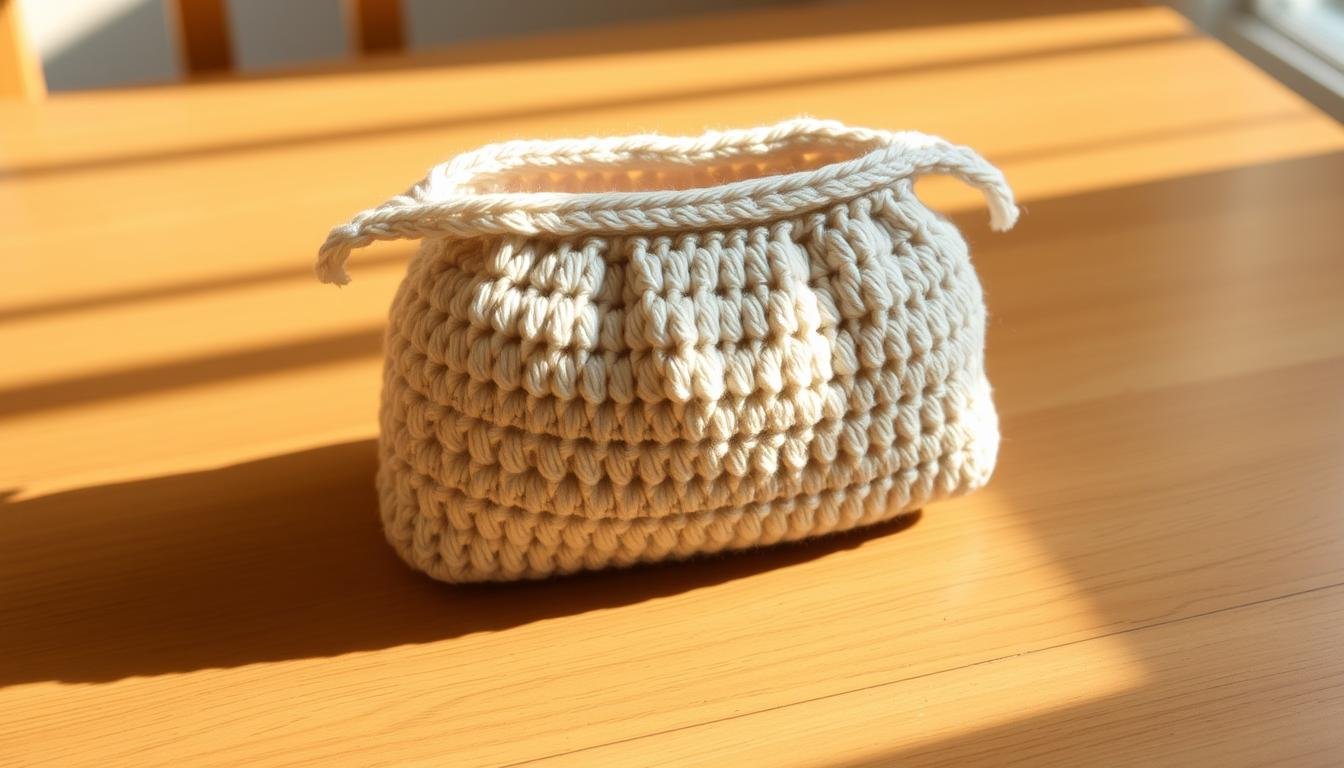
Step-by-Step Construction Method
Ready to start your crochet pouch tutorial? Let’s dive into the construction process. We’ll focus on creating a seamless and professional-looking pouch using continuous rounds crochet.
Creating the Base
Begin by chaining 25 stitches for the base. Work 3 half double crochets in the last stitch to shape the foundation. This creates a sturdy starting point for your pouch.
Working in Continuous Rounds
The magic of this pattern lies in its continuous rounds crochet technique. You’ll always work with the right side facing you, eliminating the need to turn your work. This method creates a seamless finish and saves time.

Adding the Drawstring Opening
As you reach about 6 inches in height, it’s time to create the drawstring opening. Skip one stitch in the last row to form the cinch. This simple step transforms your basic pouch into a functional, closable bag.
Remember, maintaining even tension is key throughout the crochet pouch tutorial. This ensures your stitches remain consistent, resulting in a polished final product. With practice, you’ll complete this project in just 1 to 1.5 hours, making it perfect for beginners and experienced crocheters alike.
Making the Drawstring Closure

The drawstring closure adds both function and style to your crochet pouch. It’s easier than you might think to make. Let’s explore how to create and attach the drawstring to finish your project.
First, you need to make two ties for the drawstring. Each tie is a simple chain stitch. Make 50 chain stitches for each tie, or adjust the length for your pouch’s width. It’s good to make them a bit longer, as you can always trim them later.
When your ties are ready, thread them through the pouch opening. Look for the row of double crochet stitches at the top. These stitches make small spaces for threading your drawstring. Use a large-eyed needle or a crochet hook to weave each tie through these spaces, working in opposite directions.
| Drawstring Component | Stitch Count | Time to Complete |
|---|---|---|
| Tie 1 | 50 chains | 5 minutes |
| Tie 2 | 50 chains | 5 minutes |
| Threading | 34 double crochets | 10 minutes |
After threading, make sure the ties are evenly spaced. Tie the ends of each drawstring to prevent fraying. You can also add decorative beads or tassels for extra flair. Your crochet drawstring pouch is now complete and ready to use!
Tips for Working with Cotton Yarn
Cotton yarn crochet is great for many projects. It’s strong and keeps its shape well. Here are some tips to make your cotton crochet better.
Yarn Tension Control
Keeping the right tension is key with cotton yarn. It doesn’t stretch like other fibers. Use matte crochet hooks to stop stitches from slipping. Cotton yarn gets heavier when wet, so hold it tighter then.

Maintaining Even Stitches
Here are tips for even stitches:
- Use textured stitches like post stitches to maintain shape
- Start with simpler patterns to build confidence
- Choose the right hook size for your yarn weight
Care Instructions
Right care makes your cotton crochet last longer:
- Steam block to maintain shape
- Wet-block for best results
- Wash regularly to soften the fabric over time
| Cotton Yarn Type | Best Used For | Care Tip |
|---|---|---|
| 100% Cotton | Dishcloths, Summer Wear | Machine Washable |
| Mercerized Cotton | Vibrant Projects | Hand Wash Recommended |
| Cotton Blends | Wearables, Blankets | Follow Blend Instructions |
Customization Options and Size Variations

Crocheting a pouch is just the start. The fun really begins when you customize it to fit your needs. With simple size adjustments, you can turn small coin purses into big totes.
To change your pouch size, just adjust the starting chain length. You don’t have to follow a specific stitch multiple. This means you can make pouches of any size, from tiny to huge.
Color choices are another way to make your project special. You can mix different yarn colors for bold patterns or use one color for a clean look. Some crocheters use 100g of a main color and 30g of accent colors for striking designs.
- Small pouches: Perfect for coins or jewelry
- Medium sizes: Ideal for makeup or tech accessories
- Large variations: Great for beach items or market shopping
Don’t forget about embellishments! Add tassels, buttons, or charms to make your pouch stand out. With these options, your crochet pouch will be unique and fit your style perfectly.
Troubleshooting Common Issues
Crochet troubleshooting is key for beginners. Let’s look at common problems and how to fix them. This will help you make a perfect pouch.
Preventing Gaps in Rounds
Gaps between rounds can ruin your pouch’s look. Make sure you start each round in the right stitch. Count your stitches often – many crocheters drop stitches.
Fixing Uneven Edges
Uneven edges come from uneven tension. Keep your yarn tension steady. It’s common for beginners to struggle with this – some stitches are too tight, others too loose.

Adjusting Tension Problems
Tension problems can change your pouch’s size and shape. If it’s too tight, use a bigger hook. For loose stitches, try a smaller hook. Fixing mistakes is part of learning. About 60% of beginners struggle with stitch counts, but you’ll get better.
Remember, fixing crochet problems is normal. Be patient and don’t be afraid to start over if needed. With practice, you’ll make beautiful, even pouches.
Creative Color Combinations and Design Ideas
Discover endless crochet color schemes to bring your pouch designs to life! The right colors can turn a simple pouch into a beautiful accessory. You can use five colors for a balanced look or try three or eleven for something unique.
Here are some striking color combinations:
- Clematis, Magenta, and Plum with Lemon and Graphite
- Sunshine, Citron, and Lemon with Cream and Lobelia
- Pale Rose, Raspberry, and Fuchsia Purple with Cypress and White
For a harmonious look, choose colors that are next to each other on the color wheel. Wisteria, Violet, and Emperor with Fiesta and Grey make a calming palette. Duck Egg, Sage, and Teal with Aster and Graphite give a cool, refreshing feel.
Let the seasons guide your color choices. Make spring pouches in Apple Blossom shades, summer ones in English Rose, autumn bags in cozy colors, and winter ones in frosty blues with silver and white.
Remember, balance is important in color placement. Solid colors help break up multi-colored yarn and keep stitches visible. For a fun surprise, try the “lucky dip” method – pick colors randomly for unique pouch designs!
Special Techniques for Professional Finishing
Learning how to finish crochet projects makes them look like they were made by a pro. We’ll look at two important methods to make your pouch look polished.
Weaving in Ends Securely
Loose ends can ruin your hard work. To fix this, weave yarn tails into nearby stitches. Use a tapestry needle to thread the end through at least 3-4 stitches in different directions. This keeps the yarn in place without making lumps.

Blocking Your Finished Pouch
Blocking your crochet items changes their shape and makes stitches clearer. For cotton pouches, wet blocking is the best choice. Soak your pouch in lukewarm water, squeeze out extra water, and pin it to shape on a flat surface. Let it dry completely before taking off the pins.
Steam blocking is better for acrylic yarns. Pin your pouch to size, then use a steam iron about ½ inch above the fabric. The steam relaxes the fibers, setting the shape without touching it.
- Use rust-proof pins spaced evenly around edges
- Block to desired measurements (e.g., 11 x 11 inches for squares)
- Allow 24 hours for thorough drying
These finishing touches make a big difference. Your pouch will have sharp edges, even stitches, and a professional look. Spend time learning these techniques, and your crochet skills will improve a lot!
Pattern Modifications for Different Uses
Crochet pouches are great because you can change them for many uses. By learning to tweak crochet patterns, you can make pouches for specific needs. Let’s look at some cool ways to turn a simple pouch into something special.

To make a makeup bag, use water-resistant yarn and make the pouch bigger. Make it 8.75 x 6 inches for cosmetics. For tech pouches, add extra padding with doubled yarn or a soft lining to protect gadgets.
Gift pouches are also a great idea. Make small pouches, 6.75 x 4.75 inches, for jewelry or treats. Use bright colors or add decorations to make them perfect for gifts.
Travel toiletry bags work well at the original 14 cm (5.5 in) size with 4ply yarn. This size fits toothbrush, toothpaste, soap, and a washcloth. To change sizes, remember to start with a chain that’s a multiple of 3 plus 1 for the turning chain.
- Makeup Bag: 8.75 x 6 inches, water-resistant yarn
- Tech Pouch: Add padding, soft lining
- Gift Packaging: 6.75 x 4.75 inches, festive colors
- Travel Toiletry Bag: 14 cm (5.5 in), 4ply yarn
Mastering these tweaks lets you make many types of pouches for any situation. Get creative with sizes, yarn, and decorations to make unique and useful pouches.
Storage and Care Instructions
Your crochet pouch is a special creation. It’s important to take care of it to keep it looking great. Here’s how to make sure your pouch stays in top condition.
Washing Guidelines
Washing your crochet pouch is easy if you follow these steps:
- Use cool water and mild detergent
- Hand wash gently to preserve stitches
- Rinse thoroughly to remove all soap
- Press out excess water without wringing
- Lay flat to dry, reshaping as needed
Shape Maintenance Tips
Here are some tips to keep your pouch looking its best:
- Stuff with tissue paper when storing
- Avoid hanging, which can stretch the fabric
- Store in a cool, dry place away from direct sunlight
- Gently reshape after each use
Cotton yarn can stretch over time. But with regular care, your pouch will stay the same size. It will remain a favorite accessory for many years.
| Care Aspect | Recommendation |
|---|---|
| Washing Frequency | As needed, not excessively |
| Drying Method | Air dry, laying flat |
| Storage | Cool, dry place |
| Reshaping | After each wash |
Gift-Giving Ideas and Packaging Tips
Crochet gifts add a personal touch to your presents. Fill your handmade pouch with items like earrings, a small book, or a gift card. For a festive look, add holiday-themed ribbons to the drawstring.
Presenting your handmade items well is important. Wrap your pouch in tissue paper and put it in a decorative box. Include a note with care instructions. This shows you put thought into the gift.
Here are some quick crochet gift ideas:
- Keychain (30 minutes)
- Heart bookmark (less than 30 minutes)
- Ear warmer (about 1 hour)
- Dishcloth (perfect for practical gift-seekers)
The beauty of crochet gifts is their uniqueness. You can pick colors and patterns that fit the person’s taste. Your handmade pouch will be a hit at any event. With creative packaging, your gifts will be unforgettable.
Project Time Estimates and Skill Development
Curious about how long it takes to make this easy pouch? It’s a quick project! With the right materials and focus, you can make it in just a few hours. It’s perfect for improving your crochet skills without spending too much time.
As you follow the pattern, your stitches will get better and your tension will improve. This pouch is great for practicing basic techniques and building muscle memory. Remember, every stitch you make brings you closer to becoming a better crocheter.
Once you’ve mastered this pouch, why not try something new? Experiment with different yarn weights or add embellishments. The skills you’ve learned here will help you tackle more complex projects. Keep crocheting and watch your skills grow!