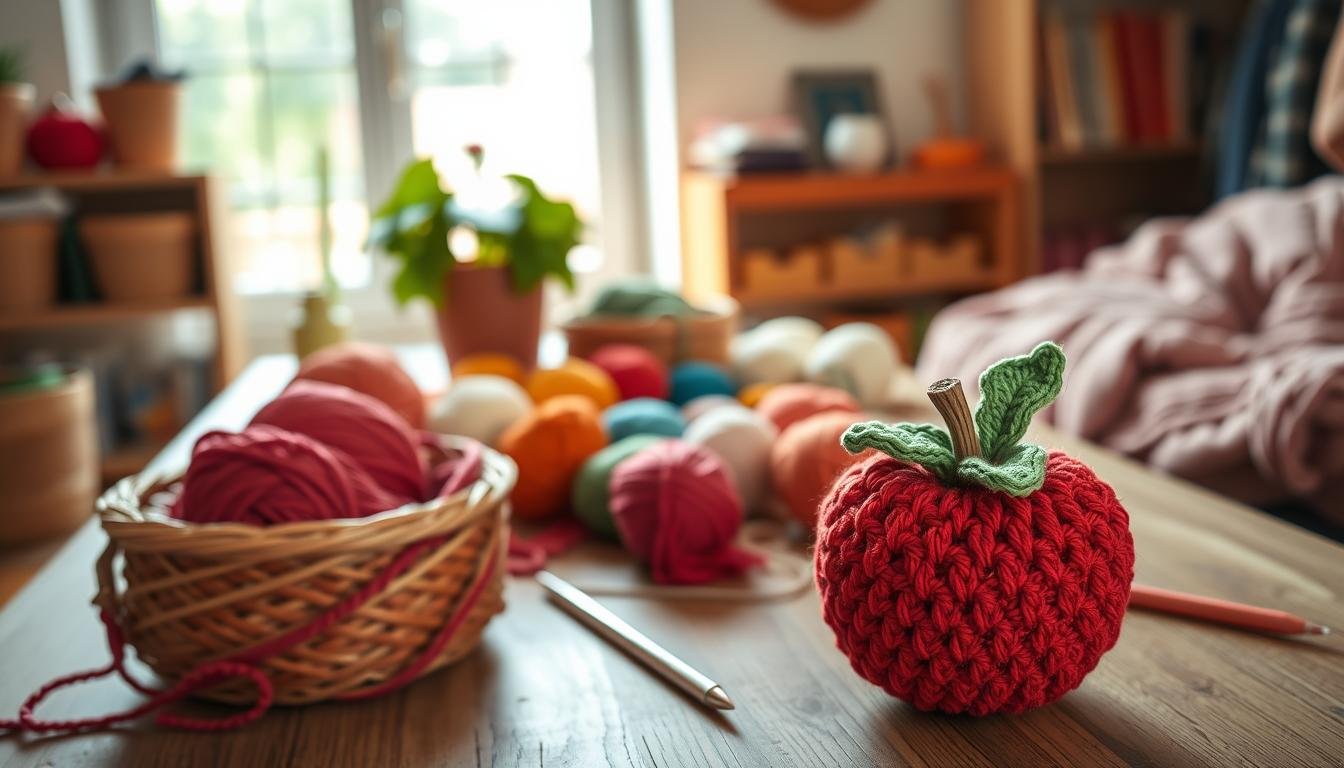
Create Your Own Adorable Apple Crochet Pattern Today
Ready to start a fun crochet project? The apple crochet pattern is perfect for you. It’s great for beginners and experts. You can make a cute apple in just 10 minutes.
Our guide will show you how to make a crochet apple. You’ll learn about yarn, hooks, and starting with a magic ring. Watch as your apple grows from six stitches to the final round.
This pattern is great for making keychains, bag charms, or decorations. You can play with colors and sizes. Add your own style to this classic design. Let’s begin your apple crochet journey!
Getting Started with Apple Crochet Pattern
Are you ready to start your apple crochet journey? This project is great for beginners who want to learn more. You’ll need some basic things to make your own cute apple.
Required Skill Level
This pattern is perfect for those who are a bit more experienced. You should know how to do basic stitches and simple shapes. Even if you’re new, with a little patience and practice, you’ll make apples in no time!
Essential Materials List
Before you begin, make sure you have these materials:
- Size 4 worsted weight yarn (25g for the body)
- 3.5 mm crochet hook
- Stitch markers
- Scissors
- Poly-fil stuffing
- Tapestry needle
- 15 mm safety eyes
Yarn Selection Tips
Choosing the right yarn is key for a great project. For the apple body, pick a cherry red worsted weight yarn. You’ll also need brown for the stem, green for the leaf, and pink for the cheeks. Here are some tips for picking yarn:
- Texture: Go for a smooth yarn for clear stitches
- Fiber content: Acrylic or cotton blends are good for amigurumi
- Color vibrancy: Pick colors that make your apple pop
With these tips and materials, you’re ready to begin your apple crochet adventure!
Understanding Pattern Terminology and Abbreviations
Learning crochet terminology and abbreviations is essential for your apple crochet pattern. These shortcuts make following instructions easier. Here are some common crochet abbreviations you’ll see:
- Ch: Chain
- Sc: Single crochet
- Inc: Increase
- Dec: Decrease
- MR: Magic ring
- Sl st: Slip stitch
Crochet patterns mix abbreviations, numbers, and symbols. Commas act like math brackets. For instance, “1 dc in next 7 sts, 3 dec, 1 dc in next 7 sts” means you do three different things.
Asterisks (*) show where to repeat. A pattern might say “Ch 3, dc in next 2 sts *ch 1, skip next st, dc in next st; repeat from * to end.” This tells you to repeat the section between asterisks many times.
US Term | UK Term | Abbreviation |
---|---|---|
Single crochet | Double crochet | sc (US) / dc (UK) |
Half double crochet | Half treble | hdc (US) / htr (UK) |
Double crochet | Treble | dc (US) / tr (UK) |
US and UK terms are different. Always check if your pattern uses US or UK terms. With practice, you’ll get the hang of crochet language. This will make your apple project easy!
Choosing the Perfect Colors for Your Apple
Choosing the right colors for your crochet apple is key. The colors you pick can make your apple look real or add a fun twist. Let’s look at some cool color options for your next apple project.
Traditional Apple Color Combinations
Classic apple colors are always in style. Think of bright reds for Red Delicious, green for Granny Smith, or red and yellow for Gala. These colors make your apples look so real, you might want to eat them!
Modern and Creative Color Options
Why not try something new with your apple’s colors? Try pastel pinks, deep purples, or rainbow colors for a unique look. For a modern feel, use neutral colors like cream or gray. Or, try variegated yarns for a speckled look.
Yarn Weight Considerations
The yarn weight you choose changes your apple’s size and color. Lighter yarns like fingering or sport make smaller apples with soft colors. Thicker yarns make bigger apples with bold colors. Your yarn choice can really change your apple’s look!
Apple Variety | Main Color | Accent Color | Finished Size |
---|---|---|---|
Granny Smith | Bright Green | Light Yellow | 2.5″ x 3″ |
Red Delicious | Deep Red | Dark Green (leaf) | 2.5″ x 3″ |
Honeycrisp | Red | Yellow-Green | 2.5″ x 3″ |
Gala | Pink-Red | Golden Yellow | 2.5″ x 3″ |
Fuji | Pink | Pale Green | 2.5″ x 3″ |
Essential Tools and Materials Checklist
Ready to start your apple crochet project? Make sure you have all the right tools and supplies. The right gear makes crafting smooth and fun.
You’ll need a crochet hook first. A medium-sized hook (around 5mm) is good for beginners with worsted weight yarn. Stitch markers help track your rounds. Sharp scissors are needed for cutting yarn.
Poly-fil stuffing gives your apple shape. A tapestry needle is for weaving in ends. Safety eyes and embroidery floss are for eyes and facial features.
Essential Item | Purpose | Beginner Tip |
---|---|---|
Crochet Hook | Creating stitches | Start with aluminum for affordability |
Stitch Markers | Marking pattern points | Plastic ones are easy to use |
Tapestry Needle | Weaving in ends | Blunt tip for safety |
Poly-fil Stuffing | Filling amigurumi | Use small amounts for even stuffing |
Scissors | Cutting yarn | Sharp, small scissors work best |
With these tools and supplies, you’re ready to create your apple. Quality tools improve your crafting and the final result.
Basic Stitches and Techniques
Learning basic crochet stitches and amigurumi techniques is essential for making your cute apple. Let’s explore the key skills you need for this project.
Magic Circle Method
The magic circle is a great way to start your apple. It makes a tight center, perfect for amigurumi. Start with 6 single crochets in the circle. Then, increase stitches in each round, reaching 66 by round 11.
Single Crochet Mastery
Single crochet (sc) is the main stitch for your apple. You’ll use it a lot, working 34 rounds to shape the apple’s body. Keep your tension even for a smooth, professional look.
Increase and Decrease Tips
Shaping your apple needs careful increases and decreases. Start by increasing to 66 stitches, then decrease to 6 in the last round. This shapes your apple into a round form. Stuff it firmly as you decrease to keep its shape.
- Use a 3.5 mm crochet hook for consistent stitches
- Place safety eyes 7 stitches apart between rounds 20 and 21
- Create cheeks with 7 half double crochets in a magic circle
With these stitches and techniques, you’re set to make your apple come to life. Remember, practice is key, so don’t worry if it’s not perfect at first.
Step-by-Step Apple Body Construction
Ready to make your crochet apple pattern come to life? Let’s start the amigurumi apple construction. You’ll begin at the top and move down in rounds, shaping the apple as you go.
Start with a magic ring and 6 single crochet stitches. In the second round, increase to 12 stitches by working 2 single crochets into each stitch. For the third round, alternate between 1 single crochet and an increase to reach 18 stitches total.
Maintain 18 stitches for rounds 4 through 7. This forms the bulk of your apple’s body. After round 7, start decreasing to create the apple’s bottom curve. Alternate 1 single crochet with a decrease until you have 6 stitches left.
Now, let’s add the finishing touches! Create a stem with 4 chains and 3 slip stitches. For the leaf, make 4 chains and work 5 single crochets around the last chain. Remember to stuff your apple firmly as you go for a realistic shape.
Round | Stitch Count | Instructions |
---|---|---|
1 | 6 | 6 sc in magic ring |
2 | 12 | 2 sc in each st |
3 | 18 | *1 sc, inc* repeat |
4-7 | 18 | 1 sc in each st |
8+ | Decreasing | *1 sc, dec* repeat |
With these steps, you’ll create a charming amigurumi apple. Remember, consistent tension and even stuffing are key to achieving that perfect apple shape in your crochet pattern.
Creating the Perfect Apple Shape
Mastering amigurumi shaping is key to achieving a realistic crochet apple shape. Your apple will come to life as you work through 30 rounds. You start with just 6 stitches and expand to a maximum of 54. The magic happens in the details, so let’s dive into the techniques that will make your apple stand out.
Top Indentation Technique
To create that classic apple look, focus on forming the top indentation. Start decreasing stitches from round 17, going from 54 to 51 stitches. This subtle change initiates the signature dip at the apple’s crown. Continue decreasing gradually until you reach 8 stitches in the final round.
Bottom Shaping Methods
For a naturally rounded bottom, maintain 54 stitches from rounds 10 to 16. This consistent stitch count creates a full, plump base. As you progress upwards, decrease stitches to form the apple’s curved silhouette. The pattern’s precise stitch counts ensure a symmetrical shape that’s true to life.
Stuffing Guidelines
Proper stuffing is key for your apple’s final form. Use polyester fiberfill, adding it gradually as you crochet. Aim for a firm but squeezable texture. The finished apple should measure about 3 inches tall and 12 inches in circumference. Remember, even stuffing throughout will maintain your careful shaping work.
By following these techniques, you’ll create an apple that’s not just a crochet project, but a little work of art. Your 3.5mm hook and worsted weight yarn will transform into a charming fruit, perfect for display or play.
Crafting Apple Stem and Leaf Details
No crochet apple is complete without its stem and leaf! These amigurumi details bring your creation to life. Let’s explore how to make these essential crochet apple accessories.
To make the stem, use brown worsted weight yarn. Start with a magic circle and 6 single crochets. Work 5 rounds, keeping the same number of stitches. This makes a sturdy stem about 1 inch tall.
The leaf needs green yarn and a bit of care. Chain 11 stitches to start. Shape the leaf with single crochets, half double crochets, and double crochets along the chain. Pinch the bottom to look like a real leaf.
Element | Yarn | Hook Size | Stitches |
---|---|---|---|
Stem | Worsted weight (brown) | 3.5 mm (E) | 6 sc in magic circle, 5 rounds |
Leaf | Worsted weight (green) | 3.5 mm (E) | Chain 11, varied stitches |
Attach the stem between rounds 1 and 2 of the apple base. Secure the leaf between rounds 6 and 7 of the stem. Hide yarn tails by pulling tight and trimming close to the apple for a neat finish. With these techniques, your apple will look orchard-fresh in about 1.5 hours!
Adding Decorative Elements
Now that your apple’s shape is complete, it’s time to add some charm. Let’s explore ways to make your creation unique with amigurumi faces and crochet embellishments.
Kawaii Face Options
Cute faces turn your apple into a lovable character. You can make different expressions with various eye and mouth styles. Try round eyes with curved lines for eyelashes, or use French knots for a simple look. Add rosy cheeks with pink yarn or felt circles for extra cuteness.
Embroidery Techniques
Basic embroidery can make your apple’s features pop. Use a tapestry needle and contrasting yarn to stitch eyes, mouths, or freckles. Practice backstitch for outlines and satin stitch for filling areas. These techniques help you craft unique amigurumi faces.
Optional Embellishments
Crochet embellishments add flair to your apple. Consider these options:
- A tiny bow at the stem
- Leaf-shaped appliques
- Sparkly yarn accents
- Mini crochet worm peeking out
Mix and match these elements to create a unique apple. Remember, the key to adorable amigurumi faces and effective crochet embellishments is practice and creativity. Don’t be afraid to try different designs until you find the perfect look for your apple.
Mastering the Assembly Process
The amigurumi assembly stage brings your crochet apple to life. Start by carefully positioning the stem and leaf on the apple body. Use a tapestry needle and matching yarn for invisible seams. Secure each piece with small, tight stitches to ensure durability.
For crochet finishing, shape your apple by gently pulling and smoothing the stitches. Add stuffing gradually, focusing on creating a round, even form. Pay extra attention to the top indentation and bottom curves for an authentic apple shape.
When attaching facial features, use pins to test placement before sewing. For embroidered details, choose thread colors that complement your apple’s yarn. Knot securely on the inside to prevent unraveling.
Assembly Step | Technique | Tips |
---|---|---|
Attaching stem | Whip stitch | Use matching yarn for seamless look |
Securing leaf | Slip stitch | Position at a slight angle for realism |
Adding face | Embroidery | Test placement with pins first |
Remember, patience is key in amigurumi assembly. Take your time with each step to create a polished, professional-looking apple that’s sure to delight.
Customizing Your Apple Crochet Pattern
Ready to level up your apple crochet skills? Let’s dive into making custom amigurumi apples. With a few tweaks, you can turn a basic pattern into something special.
Size Modifications
Changing your apple’s size is simple. For a smaller apple, use thinner yarn and a smaller hook. For a bigger apple, choose bulky yarn and a larger hook. Keep the same stitch count to keep the shape right.
Texture Variations
Try different stitches for texture. Bobble stitches give a bumpy look, while popcorn stitches add definition. Mix yarn types for a unique look, like fuzzy for the skin and smooth for the stem and leaf.
Modification | Technique | Effect |
---|---|---|
Mini Apple Charm | Use 2.0mm hook, thread | Tiny, 1-inch apple |
Jumbo Decorative Apple | Use 6.0mm hook, bulky yarn | Large, 6-inch apple |
Textured Apple | Alternate sc and hdc | Ribbed surface |
With these tweaks, you can make a whole orchard of unique apples. From tiny charms to big decorative pieces, your apples will be the star. Happy crocheting!
Troubleshooting Common Issues
Crocheting an apple amigurumi can be fun, but it comes with its own set of problems. Let’s look at some ways to solve common issues and get tips for making your amigurumi better.
Uneven edges are a big problem for many crocheters. It’s usually because of the wrong stitch count. To fix this, watch your first and last stitches in each row. Use stitch markers to keep track and avoid mistakes.
Tension issues can make your apples look wonky. About 60% of crocheters struggle with this. To keep your stitches even, take breaks when you’re tired. This can help a lot. Also, try different yarns and hooks to find what works best for you.
- For double crochet stitches, use a 3-chain turning chain
- Single crochet requires a 1-chain turning chain
- Half double crochet needs a 2-chain turning chain
If your apple is curling, you’re in good company. About 70% of crocheters face this early on. Try using a bigger hook or making your stitches looser. Also, blocking can really help – 80% of crocheters swear by it for a neat finish.
Don’t worry if your first tries aren’t perfect. With practice, you can get your stitches to look even by up to 40%. Keep these tips in mind, and you’ll soon be making beautiful crochet apples!
Care and Maintenance Tips
Proper care keeps your crochet apple looking great for years. Follow these tips to keep it fresh and vibrant.
Gentle cleaning is key for crochet toys. Spot clean with a damp cloth for minor stains. For deeper cleaning, hand wash in cool water with mild detergent. Avoid machine washing to prevent damage.
After washing, reshape your apple while damp. Air dry flat on a towel away from direct sunlight. This method preserves the toy’s form and prevents color fading.
Store your crochet apple in a cool, dry place. Use breathable containers like cotton bags to prevent moisture buildup. Add cedar blocks or lavender sachets to ward off pests.
Care Tip | Percentage of Crafters |
---|---|
Prefer gentle cleaning methods | 85% |
Use breathable storage | 60% |
Recommend air drying | 75% |
Clean before storage | 80% |
Regular maintenance keeps your crochet apple looking its best. Dust lightly with a soft brush. Check for loose threads and secure them. With proper care, your handmade creation will bring joy for generations.
Creative Display Ideas and Uses
Your crochet apple can be used in many ways. It’s great for decorating or as a gift. Let’s look at some cool ways to show off your work.
Home Decoration Suggestions
Crochet decor makes any room feel cozier. Try placing a bunch of crochet apples in a rustic bowl. Or, put one apple on a book stack for a fun touch.
In the kitchen, hang a string of mini apples. It’s a bright and cheerful decoration for above the window.
Gift-Giving Inspirations
Amigurumi gifts are perfect for any time. Give a teacher a crochet apple for their desk. Or, make apple coasters for a new home.
For fruit fans, fill a basket with crochet fruits, including your apple. It’s a thoughtful gift.
Educational Props
Use your crochet apples to teach kids. They’re great for learning numbers or colors. You can also make a pretend grocery shopping set.
For older kids, use different-sized apples to teach math. It’s a fun way to learn addition and subtraction.
With these ideas, your crochet apple can be more than just a decoration. It can be a special gift, a unique home accent, or a fun learning tool. Let your creativity shine and enjoy your handmade creation!
Pattern Variations and Advanced Techniques
Ready to level up your apple crochet skills? Let’s dive into advanced crochet techniques and amigurumi variations. You can turn your basic apple pattern into unique designs like apple slices or different types of apples. With 72 colors in the Hobbii – Friends Cotton 8/8 yarn, your creativity knows no bounds!
For a bigger challenge, try adding your apple to larger projects. Picture a stunning apple-themed garland or a warm apple fruit blanket. These projects might use special stitches like long double crochet and decrease stitches. You could even try overlay mosaic crochet for amazing color effects.
As you get better at crochet, think about joining a crochet group or taking advanced workshops. These places can spark new ideas and help you grow. Advanced crochet means using many colors and complex techniques. So, get your stitch dictionary ready, be creative, and watch your apple projects become stunning works of art!