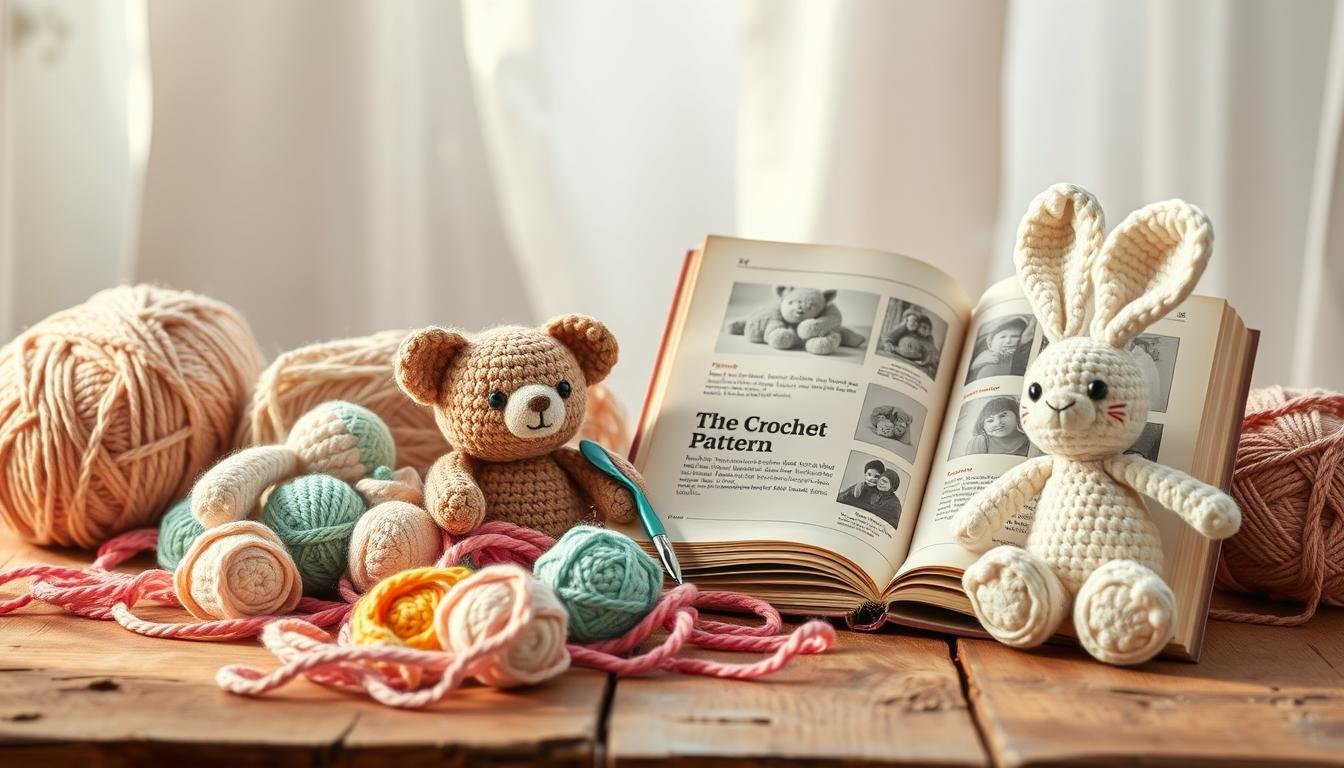
Welcome to the world of crochet amigurumi patterns! If you’re new, get ready for a fun journey. Amigurumi is the Japanese art of making cute stuffed animals. It’s great for beginners who want to make lovable toys.
Our guide has 15 unique patterns for beginners. You’ll find adorable animals and seasonal themes. These easy toys use simple stitches and techniques to help you learn.
Don’t worry about hard techniques. Most patterns use just one stitch: the single crochet. Many projects are made in one piece, so you don’t have to join parts. This makes it easy to finish your first amigurumi and feel proud.
Ready to start? Grab your yarn and hook. Let’s dive into the world of beginner amigurumi and make some adorable friends!
Getting Started with Amigurumi: Essential Tools and Materials
Starting your amigurumi journey is exciting! Let’s explore the key amigurumi supplies you’ll need. From selecting the right yarn to choosing the perfect crochet hook sizes, we’ve got you covered.
Choosing the Right Yarn Types
For beginners, 100% cotton or cotton blend yarns are ideal. They offer excellent stitch definition and are easy to work with. Sport/4 ply and Light Worsted/DK yarn are popular choices. An average-sized amigurumi toy typically requires 2-3 yarn balls.
Essential Crochet Hooks and Sizes
Crochet hook sizes for amigurumi usually range between 2.0 to 3.0 mm. It’s recommended to use a hook one size smaller than indicated on the yarn label. This keeps stitches tight. Ergonomic hooks, like Tulip Etimo Soft Grip or Clover Soft Touch, can reduce hand strain for beginners.
Additional Supplies You’ll Need
To complete your amigurumi toolkit, you’ll need a few more items:
- Stitch markers (Clover Locking Stitch Markers are reliable)
- Sharp, lightweight scissors (embroidery scissors work well)
- Tapestry needles with blunt tips and large eyes
- Polyester fiberfill for stuffing
- Safety eyes in various sizes and colors
Remember, safety eyes are not recommended for toys intended for children under 3 years old due to choking hazards. With these amigurumi supplies, you’re ready to start creating adorable crochet creatures!
| Item | Recommended Type | Notes |
|---|---|---|
| Yarn | 100% cotton or cotton blend | Sport/4 ply or Light Worsted/DK |
| Crochet Hooks | 2.0 to 3.0 mm | Ergonomic hooks preferred |
| Stuffing | Polyester fiberfill | Soft and hypoallergenic |
| Scissors | Embroidery scissors | Small, sharp, with protective sheath |
| Needles | Steel tapestry needles | Blunt tip, large eye |
Basic Techniques for Amigurumi Success
Learning key amigurumi techniques is crucial for making cute crochet animals. The single crochet stitch is the mainstay of every pattern. It makes tight, compact fabric ideal for stuffed toys.
The magic ring is a bit tricky but essential for starting most amigurumi projects. It helps create a neat, adjustable circle that becomes your project’s base. Getting good at this technique will make your creations look polished from the start.

Amigurumi uses various crochet stitches, including increases and decreases. These stitches shape your project, adding or removing them to form curves and contours. It’s important to keep your tension even for a professional look. Try to make small, tight stitches to keep the stuffing hidden.
| Technique | Purpose | Difficulty Level |
|---|---|---|
| Single Crochet | Main stitch for compact fabric | Easy |
| Magic Ring | Starting point for circular projects | Moderate |
| Increases | Adding stitches for shaping | Easy |
| Decreases | Reducing stitches for shaping | Easy |
For beginners, using thicker yarn (like grade 4 cotton) and a 4 mm hook helps see stitches better. As you get better, try different hook sizes from 2 mm to 4 mm to change the fabric’s density. Remember, the more you practice, the better you’ll get at these essential amigurumi techniques.
Cute Animal Patterns for Beginners
Start your journey into easy animal amigurumi with these adorable patterns. They are perfect for beginners and are simple to follow. They are sure to bring joy to crafters of all skill levels.

Lovable Koala Pattern
Begin with a cuddly koala. This pattern only needs one skein of yarn, making it affordable. You’ll learn basic stitches and shaping while making a cute friend. Add rosy cheeks with blush makeup for extra cuteness.
Brian the Penguin Project
Meet Brian, a beginner-friendly crochet animal. This pattern teaches you color changes and simple embellishments. Brian is great for gifts or adding whimsy to your home.
Elephant Baby Shower Gift
Make a sweet elephant for baby showers or nursery decor. This project uses basic shapes like spheres and tubes. It’s a fun way to practice increases and decreases while making a special gift.
These patterns use common stitches like magic circles and single crochet. Use stitch markers to keep track of your rounds. With these patterns, you’ll soon have a trio of lovable critters!
Easy No-Sew Amigurumi Projects
Looking for quick crochet projects without sewing? No-sew amigurumi patterns are great for beginners. They are easy to make and don’t need a needle or thread, perfect for fast crafting.

Quick Baby Birds Design
The 10-minute Baby Birds pattern is a fun no-sew amigurumi project. You can make a group of colorful, chirping friends quickly. It comes with a free PDF and video tutorial, helping beginners learn easily.
10-Minute Octopus Pattern
Try the Baby Octopus pattern for a super fast project. This cute sea creature can be made in just 10 minutes, great for last-minute gifts or a quick crochet fix. The pattern includes a video tutorial to help you.
These no-sew designs use simple crochet stitches that are easy to learn. They need very little yarn, making them perfect for using up your stash. With a bit of practice, you’ll be making adorable amigurumi creatures in no time!
| Pattern | Completion Time | Extras |
|---|---|---|
| Baby Birds | 10 minutes | Free PDF, Video Tutorial |
| Baby Octopus | 10 minutes | Video Tutorial |
| Bunny | 15 minutes | Full Video Tutorial |
| Panda Bear | 20 minutes | Full Video Tutorial |
Simple Crochet Amigurumi Patterns for Practice

Are you ready to explore amigurumi? Practice amigurumi patterns are a great way to start. These simple toys are perfect for beginners. You’ll soon be making cute creatures.
Begin with basic shapes like spheres or cylinders. These are common in beginner projects. As you get better, try simple animals or fruits. These patterns use single crochet stitches, which are easy to learn.
Choose light or medium weight yarn for your practice pieces. Avoid fluffy or fur yarns. Instead, use smooth cotton or acrylic yarns. They make your stitches easy to see.
| Pattern Type | Skill Level | Yarn Weight | Completion Time |
|---|---|---|---|
| Basic Shapes | Beginner | DK/Worsted | 30-60 minutes |
| Simple Animals | Beginner | Sport/Worsted | 1-2 hours |
| Fruits/Vegetables | Beginner | DK/Worsted | 1-2 hours |
Remember, practice is key. Don’t worry if your first tries aren’t perfect. Every stitch helps you get better. Keep practicing, and soon you’ll tackle more complex projects!
Ocean-Themed Beginner Projects
Dive into the world of ocean amigurumi with these beginner-friendly sea creature crochet patterns. These underwater themed toys are perfect for novice crocheters. They help you expand your skills while creating adorable marine friends.

Friendly Jellyfish Pattern
Start your sea creature crochet journey with a joyful jellyfish. This pattern features flowing tentacles that are surprisingly easy to create. It’s a great project to practice shaping techniques and work with different textures.
The finished jellyfish makes a charming addition to any child’s bedroom or playroom.
Mini Whale Creation
Next, try your hand at a charming mini whale. This pocket-sized sea adventure is perfect for on-the-go playtime. The pattern uses basic stitches, making it ideal for beginners.
You’ll need just a few colors of yarn to bring this cute ocean amigurumi to life.
Cleo the Clam Design
Complete your underwater world with Cleo the Clam. This simple design is great for using up small amounts of leftover yarn. The pattern teaches you how to create a rounded shape, essential for many sea creature crochet projects.
| Project | Skill Level | Est. Time | Main Stitches |
|---|---|---|---|
| Friendly Jellyfish | Beginner | 3-4 hours | Single crochet, increase |
| Mini Whale | Beginner | 2-3 hours | Single crochet, decrease |
| Cleo the Clam | Beginner | 1-2 hours | Single crochet, slip stitch |
These ocean-themed beginner projects will help you create an adorable collection of underwater themed toys. With each pattern, you’ll gain confidence in your amigurumi skills. You’ll be ready to tackle more complex sea creature crochet designs.
Woodland Creatures for Beginners

Explore the magic of forest animal crochet with our woodland amigurumi patterns. These designs are perfect for beginners. They bring the forest to life with charm. Our set includes nine adorable creatures like a fox, badger, squirrel, and more.
These patterns are great for beginners. They range from 4 cm to 10 cm in length. They are made with soft yarn, making them cuddly. You can crochet most parts in one piece, with minimal sewing.
Make your woodland scene complete with our playmat and hollow log patterns. These add-ons create a forest playset for imaginative play. They are safe for children over three years old.
| Pattern | Unique Feature | Skill Focus |
|---|---|---|
| Fox | Color changes | Shaping techniques |
| Badger | Black and white stripes | Small stitch color work |
| Owls | Sitting and flying versions | Customizable colors |
Our woodland amigurumi collection helps you master crochet techniques. You’ll create a charming forest family. These patterns are a great start for beginners in forest animal crochet.
Seasonal and Holiday Amigurumi
Celebrate the changing seasons with festive amigurumi patterns! Holiday amigurumi bring joy to your home and make perfect gifts. From snowy winter friends to spooky Halloween decor, seasonal crochet toys offer endless creative possibilities.
Winter Snowman Friends
Get hooked on sweet snowmen for the snowy season. Create simple spheres for the body and add charming details like scarves and carrot noses. These cuddly winter pals make great decorations or gifts. Try making a whole snowman family in different sizes!

Holiday Decorations
Festive amigurumi patterns let you crochet cheer for every holiday. Craft mini pumpkins and candy corn for Halloween. Stitch up Santa hats and reindeer for Christmas. The popular Holiday Deer pattern comes in light and dark color schemes.
For a unique tree, try the Miniature Tree Ornament with stitched-on lights and sparkly bells.
Don’t miss the annual Black Friday Sale with 30% off all patterns! It’s the perfect time to stock up on holiday amigurumi designs. The sale runs until December 1st, so grab your favorites before they’re gone. With so many adorable options, you’ll be crocheting festive friends all season long!
Quick 20-Minute Amigurumi Projects
Want a quick amigurumi fix? These fast crochet toys are perfect for beginners. They let you create cute creatures quickly. Let’s explore some easy amigurumi for beginners that you can make in just 20 minutes!
The Octopus Squish is a favorite among fast amigurumi patterns. It stands at 2 inches tall and takes about 20 minutes to make. It’s a no-sew project, crocheted in one piece, making it great for beginners.
For this quick crochet toy, you’ll need:
- 5mm crochet hook
- Super bulky “6” or medium weight “4” yarn
- 9mm plastic safety eyes (2)
The pattern is rated ★☆☆☆☆ for difficulty, perfect for beginners. You can customize your octopus with different yarn colors and add fun embellishments like bows or buttons.
Another speedy option is the 20-minute amigurumi duck. This easy project requires:
- 4mm crochet hook
- 4/Medium weight yarn
- 6mm safety eyes
- Tapestry needle
The duck’s body is worked in 19 rounds, with optional wings and legs. Get creative by changing colors to transform your duck into a chicken or flamingo!
These fast amigurumi patterns are great for last-minute gifts, craft fair items, or practicing your skills. With just a few supplies and a bit of time, you’ll have adorable crocheted friends in no time!
Tips for Perfect Amigurumi Stuffing
Mastering the art of stuffing is key to creating adorable crochet toys. Let’s explore some amigurumi stuffing tips to help you achieve that perfect, huggable finish.
Proper Filling Techniques
When it comes to how to stuff crochet toys, the key is patience and attention to detail. Use small handfuls of stuffing at a time, working it into every nook and cranny. For legs, start with light stuffing during joining, then add more before decreasing in the body.
The neck area often needs extra filling to prevent wobbling. Heads typically require more stuffing than you’d expect – add a large handful after several rounds of decreases.
Choosing the Right Stuffing Material
The best filling for amigurumi is typically polyester fiberfill. Poly-Fil is a popular choice, available in most craft stores. For bulk options, Morning Glory Cluster Stuff is sold at Walmart.com in 11.25 lb boxes.
Hobby Lobby offers 16oz bags, often with a 40% off coupon.
| Body Part | Stuffing Firmness | Tip |
|---|---|---|
| Feet | Firmer | Better shape definition |
| Legs | Light to firm | Adjust based on desired posture |
| Body | Firm | Avoid overstuffing for shape definition |
| Arms | Light to empty at top | Personal preference for positioning |
| Tail | Light or firm | Depends on desired stability |
Remember, overstuffing can distort your amigurumi’s shape. Aim for a balance between firmness and squishiness. With these tips, you’ll be creating perfectly plump and huggable crochet toys in no time!

Color Selection and Yarn Combinations
Choosing the right colors for crochet toys is crucial. The colors you pick can bring your amigurumi to life. They set the mood and add charm. Let’s look at how to pick yarn colors that make your toys pop.
Balance is essential in amigurumi colors. Five colors often work well together, but you can use three to eleven. The color wheel helps you find colors that look good together, like blues and oranges.

- Clematis, Magenta, and Plum with Lemon and Graphite
- Sunshine, Citron, and Lemon with Cream and Lobelia
- Pale Rose, Raspberry, and Fuchsia Purple with Cypress and White
Think about the season when picking colors. Spring is for soft pastels, and autumn is for warm tones. For winter, try frosty blues with silver and white.
| Color Type | Examples | Use in Amigurumi |
|---|---|---|
| Primary Colors | Red, Blue, Yellow | Basic building blocks for color schemes |
| Secondary Colors | Green, Purple, Orange | Add depth and variety to designs |
| Tertiary Colors | Lime Green, Teal, Coral | Create unique and eye-catching details |
| Complementary Colors | Pink + Green, Yellow + Purple | Create striking contrasts in amigurumi features |
| Analogous Colors | Pinks and Cream Tones | Achieve harmonious, subtle variations |
Online tools like Design Seeds can spark your color ideas. For a fun twist, try the “lucky dip” method. With these tips, you’ll create amazing, colorful amigurumi toys.
Safety Features and Child-Friendly Designs
Creating child-safe amigurumi is key when making toys for little ones. Let’s look at how to make your crochet toys safe and fun.
Securing Safety Eyes
Safety eyes are common in amigurumi, but they’re not safe for young kids. These plastic eyes can be a choking hazard if they fall off. For toys for kids under three, embroider the eyes instead.
This way, no small parts can come off, making your toys safe for kids.
Child-Safe Materials
Choosing the right materials is important for safe amigurumi. Use hypoallergenic yarns to avoid skin problems. For stuffing, pick non-toxic, washable polyester fiberfill.
This stuffing is safe if swallowed and keeps its shape after washing.
| Material | Safety Feature | Best For |
|---|---|---|
| Embroidered eyes | No detachable parts | Infants and toddlers |
| Hypoallergenic yarn | Prevents skin irritation | All ages |
| Non-toxic stuffing | Safe if ingested | Young children |
By following these tips, you can make cute and safe amigurumi toys. Remember, safety in amigurumi is more than just materials. Make sure all parts are secure and avoid small, detachable parts. With care, your crochet toys will make kids happy and keep them safe.
Customizing Basic Amigurumi Patterns
Ready to level up your amigurumi skills? It’s time to make your own unique crochet toys. With a few simple tricks, you can turn basic patterns into special creations.
Start by changing the size and shape of your amigurumi. Try different yarn weights to make your project bigger or smaller. For instance, bulky yarn makes a larger toy than worsted weight.
- Add accessories like hats, scarves, or glasses
- Experiment with color variations
- Incorporate different textures using specialty yarns
- Mix elements from different patterns to create new characters
Remember, practice is key. It takes about 6 months of experience before you can design your own amigurumi. Don’t worry if it takes a few tries to get it right.
| Customization Technique | Effect |
|---|---|
| Changing yarn weight | Alters size of finished product |
| Adding accessories | Creates unique personality |
| Mixing pattern elements | Produces new characters |
Mastering these techniques lets you add your own twist to any amigurumi pattern. Let your imagination run wild and enjoy making one-of-a-kind crochet toys!
Troubleshooting Common Beginner Mistakes
Amigurumi troubleshooting is key for crocheters. You’ll face common problems as you start. But, even experts struggle. Let’s learn how to solve these issues.
Fixing Tension Issues
Tension is crucial in amigurumi. Uneven stitches can ruin your work. To fix this, crochet swatches to get the hang of it.
If your stitches are too tight, use a bigger hook. For loose stitches, try a smaller hook or change how you hold the yarn.
Joining Parts Together
Smooth joins are essential for amigurumi. Use a whip stitch or invisible seam to join parts. Pin them first to make sure they line up right.
Take your time. Rushed joins can lead to gaps or thick seams.
Counting Stitches Properly
Getting stitch counts right is vital. Use stitch markers for increases and decreases. Always count your stitches at the end of each round.
If you’re off, it’s okay to frog and start again. It’s better than making a mistake.
| Common Mistake | Solution | Success Rate |
|---|---|---|
| Incorrect side visible | Flip work by 2nd round | 90% |
| Difficulty stuffing small areas | Use back end of crochet hook | 65% |
| Uneven stitch definition | Use 100% cotton yarn | 80% |
Fixing mistakes is part of learning. With time, you’ll get better at spotting and fixing problems. Soon, you’ll make adorable amigurumi easily.
Creative Ways to Display Your Amigurumi
Your adorable crochet toys deserve the spotlight! Let’s explore some fun amigurumi decoration ideas. One clever trick is turning smaller projects into keychains. Keep a stash of key rings and chains handy, and you’ll always have a quick gift ready to go.
For displaying crochet toys at home, try creating a charming mobile for a nursery or playroom. Hang your amigurumi from different lengths of yarn or ribbon for a whimsical touch. Another idea is to arrange a fairy garden scene with tiny crochet creatures peeking out from miniature plants and accessories.
When showcasing handmade toys on social media, lighting is key. 70% of users prefer natural light for photography, so position your amigurumi near a window for the best results. Experiment with different angles – 72% of photographers say this leads to more interesting images. For a professional touch, try using IKEA cork coasters as stands. They come in 4-inch and 3.5-inch sizes, perfect for propping up your creations.
Remember, 80% of photographers recommend avoiding direct sunlight to prevent harsh shadows. Instead, aim for soft, diffused light to highlight your amigurumi’s adorable features. With these tips, you’ll be displaying your crochet toys like a pro in no time!