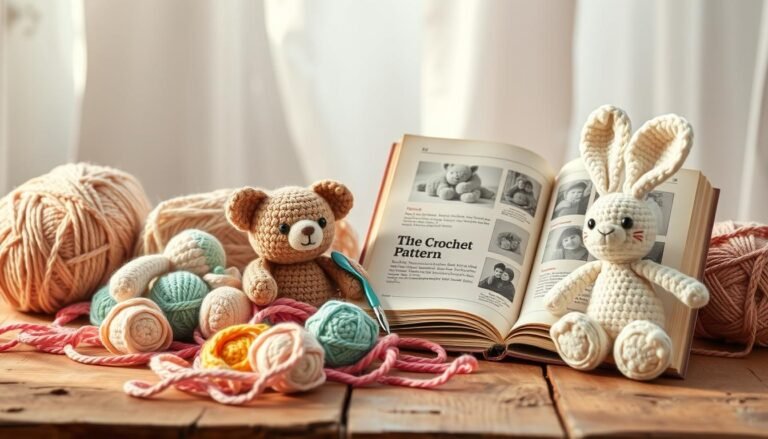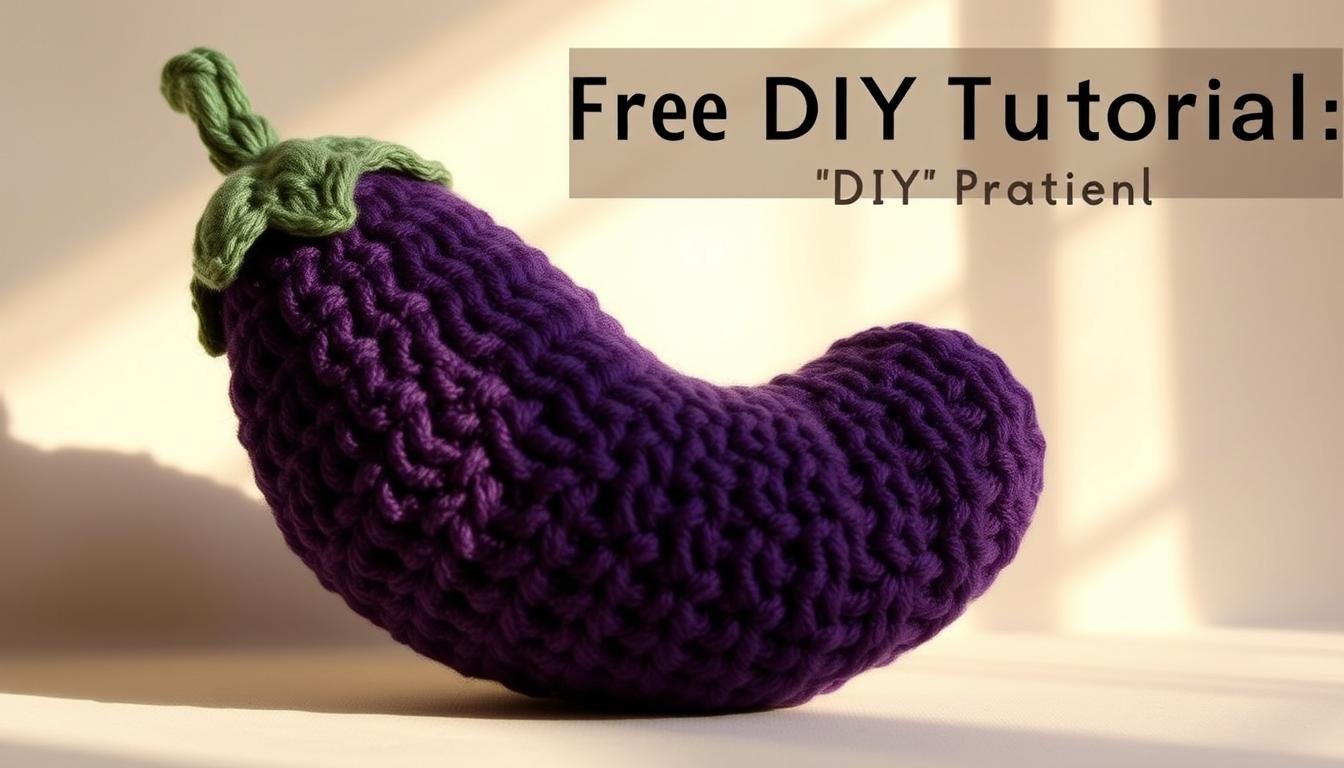
Welcome to our free crochet eggplant pattern! This DIY tutorial will show you how to make a cute amigurumi veggie. You’ll need less than 100 grams of yarn. This includes 60 grams of dark purple for the body and 30 grams of green for the leaves.
Our pattern uses half-double crochet stitches. It can be finished in just a couple of hours. You’ll work on 10 rows for the leaves, ending with a single stitch. The eggplant body starts with 6 stitches and grows to 60 by row 13.
This free crochet eggplant pattern includes four leaves to sew onto the rim. You can use different colors with Lion Brand’s Vanna’s Choice Yarn. Get ready to make a cute, realistic eggplant perfect for display or gifting!
Introduction to Crocheting a Cute Amigurumi Eggplant
Are you excited to start crocheting an amigurumi eggplant? This pattern is great for all skill levels. Amigurumi, a Japanese art, has become very popular. Now, you can make a cute eggplant that stands out.
Crocheting an amigurumi eggplant is both fun and educational. You’ll learn to shape the eggplant and add details. It’s perfect for decorating your home or giving as a gift.
| Feature | Description |
|---|---|
| Yarn Weight | Medium (4), Bulky (5), Super Bulky (6) |
| Recommended Yarn | Super Bulky (6) chenille for cuddly results |
| Safety Eyes Size | 8mm to 24mm (10mm, 12mm, 15mm popular) |
| Crochet Hook Size | 2-3 sizes smaller than yarn recommendation |
| Difficulty Level | Beginner-friendly to Advanced Beginner |
Now you’re all set to begin your amigurumi eggplant project. This pattern is designed to be fun and rewarding. So, enjoy every stitch and have fun!
Essential Materials and Supplies
Before you start crocheting your adorable amigurumi eggplant, gather all the necessary crochet supplies. Having the right amigurumi materials on hand will ensure a smooth crafting experience.
Yarn Selection and Colors
Choose medium-weight yarn for your eggplant. You’ll need violet for the body and avocado green for the leaves and stem. Lion Brand Wool-Ease Yarn works great for this project. One ball of each color should be sufficient.
Hook Size and Notions
Grab a 4.00 mm (G) crochet hook for this pattern. You’ll also need basic notions like stitch markers, a yarn needle, and scissors. These tools are essential for shaping and finishing your amigurumi.

Safety Materials
To bring your eggplant to life, consider using 10 mm safety eyes. If you prefer, you can use black embroidery thread to create the facial features. For stuffing, polyester fiberfill will give your eggplant the perfect shape.
| Item | Specification | Purpose |
|---|---|---|
| Yarn | Lion Brand Wool-Ease (Violet & Avocado) | Main body and leaves |
| Crochet Hook | 4.00 mm (G) | Creating stitches |
| Safety Eyes | 10 mm (optional) | Facial features |
| Stuffing | Polyester Fiberfill | Filling the amigurumi |
With these crochet supplies ready, you’re all set to create a charming amigurumi eggplant that’s approximately 6 inches (15 cm) tall. This easy-level project is perfect for beginners and can be completed in about 26 rounds for the main body.
Basic Crochet Stitches and Techniques
Learning crochet techniques and amigurumi stitches is essential for making cute projects like our eggplant keychain. This part covers basic skills for both newbies and seasoned crafters. With 60% of beginner patterns focusing on basic stitches, you’ll be ready for many projects.
Common Abbreviations
Get to know these common crochet abbreviations:
| Abbreviation | Meaning |
|---|---|
| ST | Stitch |
| SL ST | Slip Stitch |
| CH | Chain |
| SC | Single Crochet |
| SC2TOG | Single Crochet Two Together |
Special Stitch Techniques
Amigurumi stitches require special techniques. The magic ring is key for starting your eggplant. It makes a tight center, ideal for 3D shapes. Also, mastering color changes is vital for the eggplant’s body and leaf.

Working in Rounds
Crocheting in continuous rounds is vital for amigurumi. It removes visible seams, making your eggplant smooth. Use stitch markers to track rounds for accurate shaping. With these skills, you’ll be set to create your amigurumi eggplant!
Free Crochet Eggplant Pattern

Ready to start your crochet vegetable tutorial? This free eggplant pattern is perfect for beginners. You’ll make a charming 6-inch (15 cm) amigurumi eggplant in just 26 rounds. You’ll use Lion Brand Wool-Ease Yarn in Violet for the body and Avocado for the stem and leaves.
Let’s start with the eggplant body. Begin with a magic ring and make 6 single crochet stitches in it. As you go, you’ll add more stitches to shape the eggplant. The widest part is 48 stitches at round 20. Then, you’ll start decreasing to form the top.
| Round | Stitches | Total |
|---|---|---|
| 1 | SC x6 in magic ring | 6 |
| 2 | 2 SC in each stitch | 12 |
| 3 | *1 SC, 2 SC in next* repeat | 18 |
For the stem, work 8 rounds, ending with 21 stitches. Use stitch markers to keep track. If you need help, support is available via email seven days a week. Happy crocheting your cute eggplant!
Creating the Eggplant Body
Let’s start making the crochet eggplant body. This step is key in your amigurumi journey. The eggplant is about 2.25 lbs, similar to a baby at 28 weeks. It will be around 8 inches tall, great for the Pregnancy Progress Project.
Starting with the Magic Ring
Start with a magic ring for the eggplant body. This method makes a tight center, important for amigurumi. Use a medium (4) weight yarn and a 4.00 mm (G) hook for the best look.
Increasing Rounds
As you go, add more stitches to make the eggplant wider. The pattern has 30 rounds, with special increase steps for each.
| Round | Instructions | Total Stitches |
|---|---|---|
| 4 | *1 SC in 1st 2 STs, 2 SC in next* | 24 |
| 5 | *1 SC in 1st 3 STs, 2 SC in next* | 30 |
| 6 | *1 SC in 1st 4 STs, 2 SC in next* | 36 |
| 7-11 | SC in each ST around | 36 |
Body Shaping
To get the eggplant shape, use smart increases and decreases. The pattern has SC2TOG decreases in rounds 12, 18, 26, and 30. Keep your tension even for a smooth look. Remember, practice is key in amigurumi!

Adding Character with Safety Eyes
Bringing your amigurumi eggplant to life is all about the details. Let’s focus on adding those adorable amigurumi eyes and crochet facial features. These will give your creation its unique personality.
For this eggplant pattern, place the eyes between rounds 20 and 21. This ensures your eggplant looks friendly. Use 9mm black eyes for most amigurumi designs.

To attach safety eyes, push the posts through the spots in your crochet work. Secure them with backing washers. If you prefer embroidered eyes, use black embroidery floss to make small, round shapes in the same spots.
Now, let’s add a smile to complete those crochet facial features. Use black embroidery thread to make a simple “V” shape between the eyes. This small detail brings a lot of charm to your eggplant friend.
Remember, patience is key when working on these tiny features. Take your time to ensure everything is placed just right. Your careful attention to these details will result in an adorable amigurumi eggplant full of character and charm.
Stuffing Techniques for Perfect Shape
Mastering amigurumi stuffing is key to achieving the ideal shape for your crochet eggplant. Let’s explore some effective crochet shaping techniques to ensure your creation looks plump and realistic.
Proper Filling Methods
Start stuffing your eggplant around Round 30. Use small amounts of polyester fiberfill, adding it gradually as you work. This method allows for better control and even distribution. Stuff firmly, but avoid overpacking, which can distort your stitches.

Maintaining Form
Continue stuffing after each round to maintain the eggplant’s form. Pay extra attention to the bottom and top areas, as they tend to need more filling. Use a chopstick or crochet hook to push the stuffing into hard-to-reach spots.
Remember, the yarn weight affects your eggplant’s size. A super bulky yarn, like the one used for Otto the eggplant, results in a 6¾-inch tall creation. Adjust your stuffing amount according to the yarn weight.
| Yarn Weight | Approximate Eggplant Height |
|---|---|
| DK | 4 inches |
| Worsted | 5 inches |
| Bulky | 6 inches |
| Super Bulky | 7 inches |
| Jumbo | 8+ inches |
By mastering these amigurumi stuffing techniques, you’ll create a well-shaped, professional-looking crochet eggplant that’s sure to impress.
Crafting the Leaf Topper
It’s time to add the final touch to your crochet eggplant with a realistic leaf topper. This step brings your amigurumi plant details to life. It makes your creation look even more adorable.
Leaf Construction Steps
Begin by making a magic ring with your green yarn. Use a 4mm hook for consistency with the eggplant body. Work 6 single crochet stitches into the ring.
In the next round, increase to 12 stitches, then to 18 in round 3. Continue following the pattern, increasing gradually to shape the leaf.

Creating Realistic Texture
To make your crochet eggplant leaves look more natural, focus on texture. Use a combination of single crochet and slip stitches to create subtle veins and edges. Work in short rows to form the leaf’s lobes, giving it a lifelike appearance.
The leaf topper takes about 7 rounds to complete, with a maximum of 30 stitches in round 5. Remember, the key to perfect amigurumi plant details is in the little touches. Take your time with each stitch, and soon you’ll have a charming leaf crown for your eggplant. Once finished, you’ll be ready to attach it to the main body, completing your adorable crochet creation.
Making and Attaching the Stem
The crochet eggplant stem is the final touch that brings your amigurumi to life. You’ll need green yarn and a 4.25mm hook. Start with a chain of 5 stitches. Then, work the stem in rounds, increasing slightly for a natural curve. Aim for 3-4 rounds, keeping it short and sturdy.

After crocheting the stem, leave a long tail for attaching. This is where the fun begins. Take your leaf topper and pull the stem tail through the top center. Position the stem upright, then sew it in place with the long tail.
Now, attach the stem and leaf topper to your eggplant body. Place them at the top center, adjusting until you’re happy. Use strong, even stitches to sew them firmly in place. Try to hide your stitches for a clean finish. With the stem attached, your crochet eggplant is complete and ready for your amigurumi garden!
Embroidering the Perfect Smile
Adding amigurumi facial features to your eggplant brings it to life. The smile is key in creating a friendly, welcoming expression. Let’s explore how to use crochet embroidery techniques for the perfect grin.
Placement Guidelines
Position your smile centered below the eyes. Aim for a gentle curve that spans about 5-7 stitches wide. This placement creates a balanced, cheerful look on your eggplant’s face.
Embroidery Techniques
For a simple yet effective smile, use a straight stitch. Start by inserting your needle one stitch to the right of where you want the smile to begin. Follow these steps:
- Insert the needle with thread one stitch over from the right eye.
- Pull the needle out one stitch over from the left eye.
- Reinsert the needle into the original spot, pulling it out above the thread.

This technique creates a smooth, curved line perfect for your eggplant’s smile. For added depth, consider using a satin stitch or a chain stitch. These methods can give your smile more dimension and character.
| Stitch Type | Difficulty | Effect |
|---|---|---|
| Straight Stitch | Easy | Simple, clean line |
| Satin Stitch | Moderate | Fuller, more pronounced |
| Chain Stitch | Advanced | Textured, detailed |
With these techniques, your amigurumi eggplant will sport a charming smile, ready to brighten any room. Remember, practice makes perfect when it comes to crochet embroidery for facial features.
Assembly and Finishing Touches
It’s time to make your crochet eggplant come to life. Start by finishing your work, leaving a long tail for sewing. This tail is key for holding everything together. Make sure each part is placed carefully for a balanced and cute eggplant.
After you’re happy with the placement, sew the remaining stitches closed at the bottom. This makes a neat finish and keeps the stuffing inside. Then, weave in all loose ends to get a polished look and prevent unraveling.
As you finish, give your amigurumi a final check. Look for any loose threads or uneven spots. If needed, tweak the shape or stuffing. Paying close attention here can greatly improve your cute crochet eggplant’s look.
- Sew remaining stitches closed
- Weave in all loose ends
- Check and adjust overall shape
- Secure all parts firmly
With these steps done, your amigurumi eggplant is ready to be shown off or given as a gift. The whole process takes about 20 minutes, making it a great weekend project. Your handmade eggplant will bring joy and show off your crochet talent.
Size Modifications and Customization
Customizing crochet patterns lets you create unique amigurumi variations. Our eggplant pattern can be made into adorable plushies in different sizes and colors. The standard size is about 8 inches tall, but you can easily scale it up or down.
Scaling the Pattern
To change the size of your eggplant, adjust your hook size and yarn weight. A larger hook and bulkier yarn will create a bigger eggplant. On the other hand, a smaller hook and finer yarn will result in a miniature version. Remember to maintain the same stitch count for consistent shaping.
Color Variations
Experiment with different yarn colors to create unique eggplants. Stick to deep purples for a realistic look, or try fun, non-traditional colors like pink or blue. You can even use variegated yarn for a speckled effect. For the leaf and stem, mix shades of green to add depth and texture.
Try these customization ideas:
- Make a keychain-sized eggplant using thin cotton yarn and a 2.5mm hook
- Create a jumbo eggplant pillow with super bulky yarn and a 10mm hook
- Use sparkly yarn for a magical, fairy-tale inspired eggplant
- Crochet a rainbow eggplant family in different sizes and colors
By exploring these customization options, you’ll develop your crochet skills. You’ll create one-of-a-kind amigurumi eggplants that reflect your personal style.
Troubleshooting Common Issues
Crochet troubleshooting is key for perfect amigurumi projects. You might face some challenges while making your eggplant. But, we’ve got some great tips to help you solve these problems.
Keeping an accurate stitch count is essential for your eggplant’s shape. Use a stitch marker to mark your rounds. This simple trick can help avoid many issues. If you see gaps in your stitches, try making your stitches tighter. Tighter stitches usually lead to a neater finish for amigurumi.
Uneven shaping can be a problem. Double-check your increases and decreases to make sure you’re following the pattern right. If the magic ring is hard for you, try starting with a chain loop instead. It’s a simpler method that works well for beginners.
Remember, practice makes perfect. Don’t get discouraged if your first try isn’t perfect. With these tips, you’ll soon be making adorable amigurumi eggplants!
| Common Issue | Solution | Success Rate |
|---|---|---|
| Difficulty with magic ring | Use chain loop alternative | 40% |
| Uneven shaping | Double-check increases/decreases | 60% |
| Gaps in stitches | Adjust tension | 75% |
Care Instructions for Your Amigurumi
Your crocheted eggplant needs the right care to stay fresh and bright. Store it in a cool, dry spot, away from sunlight to avoid fading. Gently dust it with a soft brush or cloth to keep it looking new.
Spot cleaning is key for crochet toy upkeep. Use a damp cloth with mild soap for small stains. Avoid soaking it. For deeper cleaning, hand wash in cool water with gentle detergent. Squeeze out water without wringing and reshape while damp. Let it air dry before showing or playing.
Using a clear, sealable bag for storage adds protection. It keeps dust and pests away while you can see your work. Check safety eyes often to make sure they’re secure. Follow these tips to keep your amigurumi eggplant a delightful part of your collection for years.